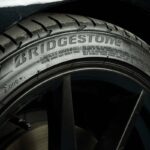
Scratches, bug splatter, and dents. It ends up damaging the paint on cars which can later lead to rust if left untreated.
Nobody likes the cost of getting it repaired.
The average basic paint job can cost $300-$400, which may not guarantee quality protection from the elements. A higher-quality paint job can easily cost $1,000 to $5,000, depending on the car and materials.
That could put a dent in our wallets.
This is why learning how to apply paint protection film is essential. It can save money and keep cars away from damage.
How?
Read on and learn more about paint protection film and how to apply it.
What Is Paint Protection Film and How Does It Save Money?
PPF is a liner made of polyurethane that is usually six to eight millimeters thick. One side has adhesive, and the other is a protective layer. Think of it as a huge sticker that requires you to peel it off.
Paint protection film is used to shield a car from damage such as rock chips, door dings, bugs, bird droppings, and anything that can ruin the paint. The protective layer can absorb damage. Some can heal itself by heating them.
Applying PPF can retain the value of cars. Keeping the paint original and fresh on a high-end car can do that.
Also, depending on the size of the paint protection film and desired surface area needed to be covered, it can cost between $50-$200 per roll.
Here are some examples of places that agree PPF is a great investment:
- www.xpel.com
- www.supremewrapsdallas.com
- www.claritycoat.com
Tools Needed
Before starting the paint protection film application, ensure these tools are in hand:
- PPF squeegees
- Clay bar
- Microfiber cloth
- Bottle of slip solution
- Bottle of tack solution
- Scissors and other quality cutters
- Rinseless car wash
- Small piece of wood for propping
Optional tools:
- Clay bar
- Steamer
- Heat gun
How to Apply Paint Protection Film
Here are a few steps to protecting vehicle paint:
- Use the rinseless wash to clean the desired area of installation
- Use the clay bar for more cleansing
- Use the microfiber cloth to dry the area
- Use a squeegee with a cloth to clean tight spaces
- If applying paint protection film to the hood, make sure to clean the perimeter underneath
- Take the car to an area where debris is scarce
- Prop up the hood by a few inches
- Spray area with slip solution
- Grab paint protection film
- Cut a piece large enough to cover more than the desired area
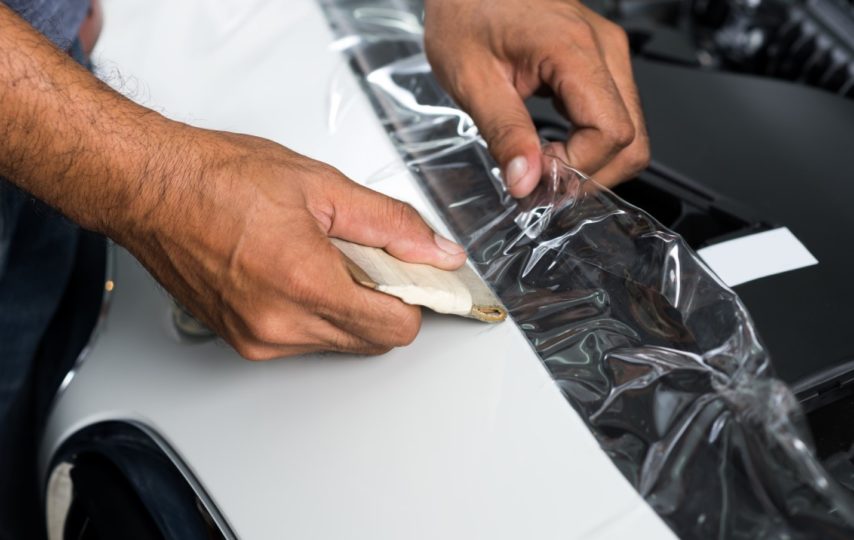
- Using the adhesive side, apply paint protection film over the area
- With a squeegee, slide from top to bottom using overlapping strokes to squeeze out air bubbles
- Use slip solution on top of the film to ensure the squeegee can slide smoothly
- Stretch the paint protection film to the edges and corners
- Use tack solution on edges and corners to ensure PPF does not loosen
- Continue with squeegee and wrap around the perimeter
- Let it air dry for 20 minutes
- Using scissors or another quality cutter, carefully trim excess PPF hanging off the perimeter
- Optional: use steamer on areas exposed to moisture and heat a gun on tight corners
- Let it sit for 48 hours
Protect Your Car Today
Although purchasing the tools needed for installing paint protection film can be demanding, it is a good investment. A one-time purchase of the tools can last a long time, able to take on multiple tasks.
It beats paying for an expensive paint job. Going with PPF is cheaper and will maintain the paint quality.
That is why knowing how to apply paint protection film is crucial to keeping a car nice and healthy. You can do the same for your car as well.
If you find this helpful and would like to know more about cars and detailing, check out our site for more.